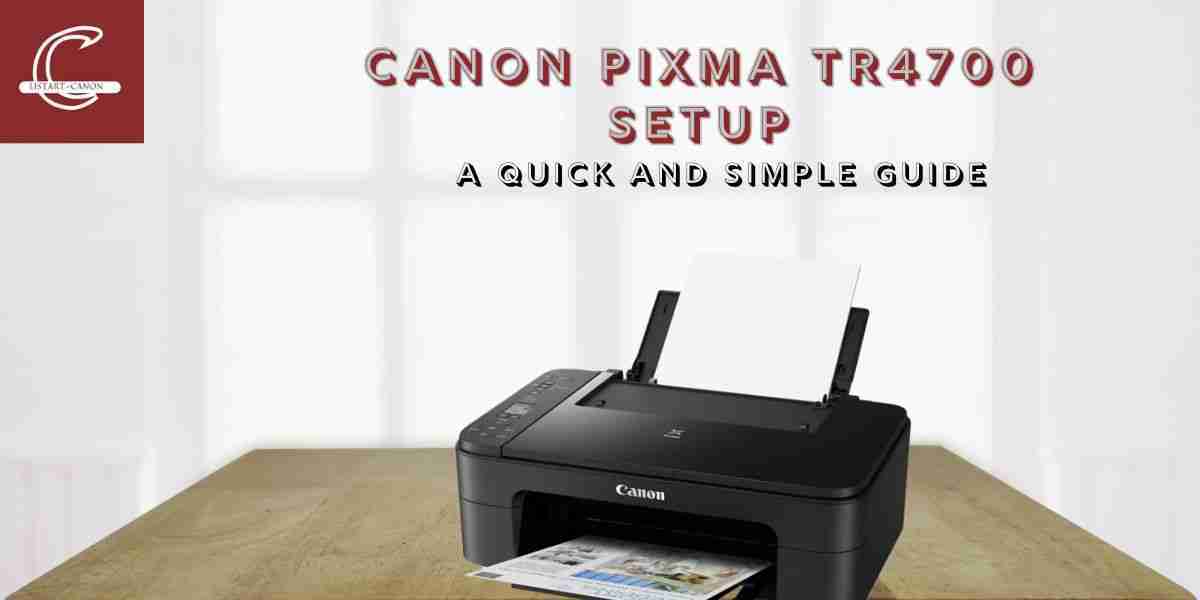
The process of setting up your Canon Pixma TR4700 printer will prove to be simpler than your expectations. Your printer operation will begin within minutes when you follow these correct procedures. The Canon Pixma TR4700 Setup process can be completed through this guide which uses the https ij start canon website for assistance.
1. Unbox and Prepare Your Printer
- The required packaging materials and protective tapes should be removed from the product.
- The user needs to handle the ink cartridges installation process with special care.
- The user needs to load paper into the tray.
2. Power On and Initial Setup
- The user should connect the printer to an electrical outlet.
- The user should turn the device on by pressing the power button.
- The user needs to select their desired language and regional settings through the printer display.
3. Connect to Wi-Fi
- The user needs to select Wireless LAN setup from their printer.
- The user should connect to their home Wi-Fi network by entering the password.
- The user needs to print a network configuration page to verify the connection.
4. Install Printer Software
- A user needs to open a web browser and navigate to https ij start canon.
- The user needs to download Canon Pixma TR4700 drivers which match their operating system Windows or Mac.
- The user should follow the instructions displayed on the screen to finish the installation process.
5. Test Print
- The user needs to print a test page after completing the installation process.
- The user should examine the product for alignment problems and connectivity deficiencies.
Tips:
- You should maintain your printer firmware at current status by visiting https ij start canon.
- The best printing results will happen when you use authentic Canon cartridges.
- When you encounter error codes, please consult the manual for assistance.
Your Canon Pixma TR4700 Setup will reach completion through these simple procedures, which enable you to print without interruptions for your work and home requirements.