Why Connect AirPods to Your MacBook Air?
Using AirPods with your MacBook Air offers a wireless, high-quality audio experience. Whether you're attending virtual meetings, watching movies, editing videos, or simply listening to music while working, AirPods provide crisp sound and the convenience of no tangled wires.
Now, let’s break down how to connect AirPods to MacBook Air in just a few easy steps.
Step-by-Step: How to Connect AirPods to MacBook Air
1. Ensure Your MacBook Air Is Compatible
Before starting, make sure your MacBook Air is running macOS Sierra or later for first-gen AirPods, and macOS Catalina or later for AirPods Pro. Most newer models will meet these requirements.
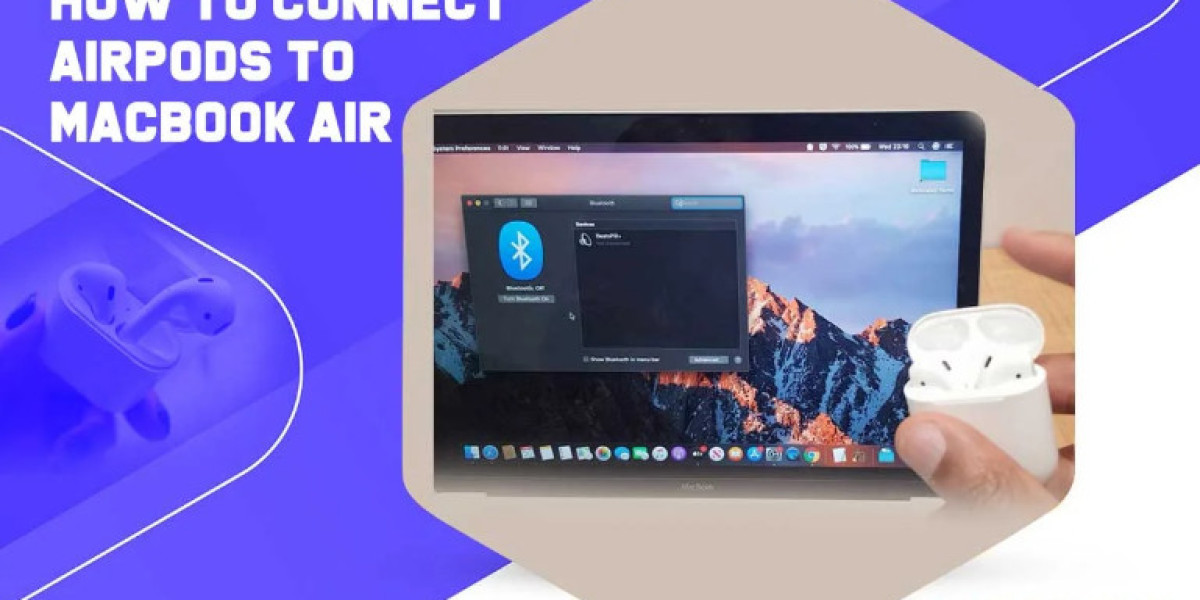
2. Turn On Bluetooth on Your MacBook Air
Click the Apple menu () in the top left corner.
Select System Settings (or System Preferences, depending on your macOS version).
Click Bluetooth and make sure it’s turned ON.
This is a vital step when learning how to connect AirPods to MacBook Air, as Bluetooth is the core technology enabling the connection.
3. Put Your AirPods in Pairing Mode
Place both AirPods in their charging case.
Open the lid but don’t take them out yet.
Press and hold the small setup button on the back of the case until the LED indicator starts flashing white. This signals that your AirPods are in pairing mode.
4. Connect AirPods via Bluetooth Settings
On your MacBook Air, in the Bluetooth settings window, you’ll see a list of available devices.
Look for your AirPods in the list (e.g., "John’s AirPods").
Click Connect next to them.
Once connected, the status should change to Connected, and you're good to go. That’s essentially how to connect AirPods to MacBook Air the manual way.
Connecting Automatically with the Same Apple ID
If your AirPods are already paired with your iPhone or another Apple device using the same Apple ID, connecting them to your MacBook Air can be automatic.
Here’s how:
Open the AirPods case (or put on AirPods Max).
A small pop-up should appear on your MacBook Air asking if you want to connect.
Click Connect.
Apple’s Continuity feature makes this process almost effortless, and understanding how to connect AirPods to MacBook Air with this auto-pairing method is great for long-time Apple users.
Switching Between Devices Seamlessly
AirPods are known for intelligently switching between Apple devices. If you're watching a video on your MacBook Air and get a call on your iPhone, the AirPods will automatically switch to the iPhone — if you're using iOS 14/macOS Big Sur or later and both devices share the same iCloud account.
If you prefer to manually control which device your AirPods connect to, go to System Settings > Bluetooth, click on your AirPods, and select Options. Then set Connect to This Mac to “When Last Connected to This Mac.”
This is a more advanced tip that comes in handy once you’ve mastered how to connect AirPods to MacBook Air in general.
Troubleshooting Connection Issues
Even though the process is usually seamless, you might occasionally run into connection problems. Here are a few tips:
1. Forget and Reconnect
Go to System Settings > Bluetooth.
Find your AirPods and click the "i" or Options icon.
Select Forget This Device.
Then repeat the steps for how to connect AirPods to MacBook Air.
2. Reset AirPods
Place the AirPods in the case.
Press and hold the setup button until the LED flashes amber, then white.
Reconnect them using the method described earlier.
3. Update macOS
Sometimes, outdated software can cause compatibility issues.
Go to System Settings > General > Software Update and install any available updates.
Knowing how to troubleshoot is just as important as knowing how to connect AirPods to MacBook Air, especially if you're relying on them for important calls or meetings.
Optimizing Your AirPods Experience on MacBook Air
Now that you know how to connect AirPods to MacBook Air, here are a few tips to improve the experience:
1. Enable Spatial Audio
Go to Control Center > Sound while using your AirPods Pro or AirPods Max.
If your Mac supports it, you can enable Spatial Audio for a more immersive sound.
2. Use AirPods as a Microphone
Go to System Settings > Sound > Input.
Select your AirPods as the input device.
This is ideal for video conferencing or voice recording directly from your MacBook Air.
3. Customize Double-Tap and Press Controls
In Bluetooth settings, click the "i" or Options next to your AirPods.
Customize what each tap or press does — like skipping a track or activating Siri.
Mastering these settings takes your experience beyond just knowing how to connect AirPods to MacBook Air — it makes them work the way you want.
Final Thoughts
Understanding how to connect AirPods to MacBook Air unlocks a world of wireless audio convenience. With just a few steps, you can enjoy high-quality sound whether you’re working, relaxing, or on the go. From seamless pairing to advanced features like Spatial Audio and automatic device switching, AirPods are a perfect companion for your MacBook Air.
If you follow the steps in this guide and explore the tips provided, you’ll not only connect your AirPods successfully but also optimize their performance. So go ahead — connect, listen, and elevate your MacBook Air experience today!