


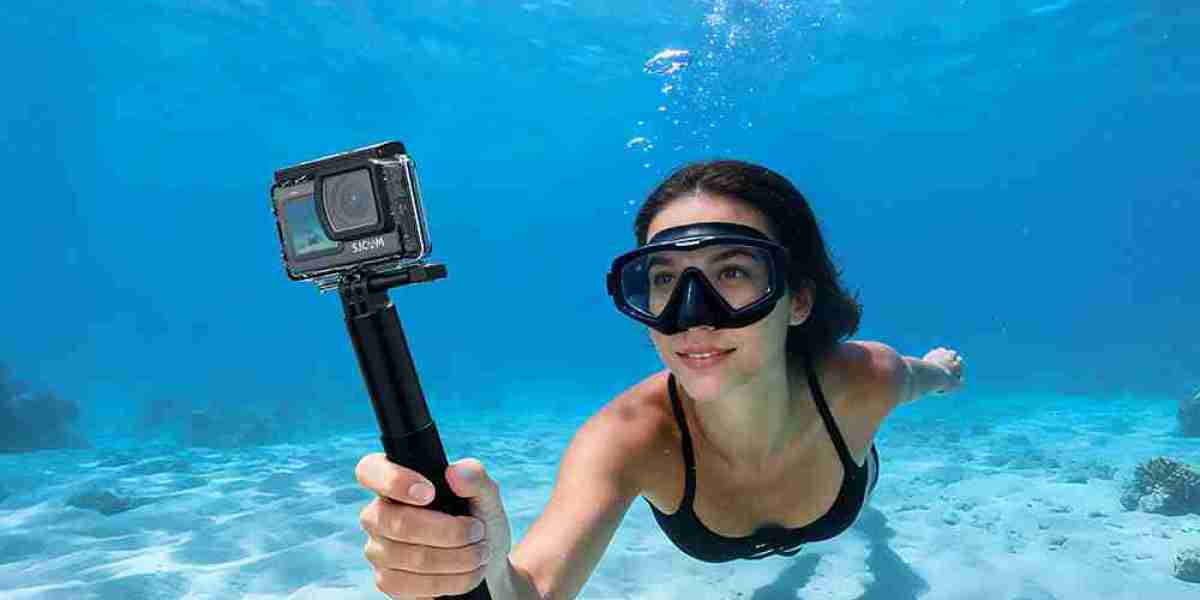
You’ve done it. You’ve researched, saved up, and finally purchased your first underwater camera for diving. You’re ready to capture the vibrant coral reefs, the majestic sea turtles, and the bustling schools of fish. But hold on—before you book that dive trip and jump into the ocean, there is a harsh reality every underwater photographer must face: the base camera is only half the battle.
Underwater photography demands specialized gear. Water is 800 times denser than air, and it wreaks havoc on light, color, and buoyancy. Without the right accessories, even the most expensive camera will produce blurry, blue-tinted, and lifeless images. To help you avoid costly mistakes and missed shots, here is the ultimate checklist of essential accessories for anyone using an underwater camera for diving.
1. The Red Filter (The Color Saver)
This is arguably the most critical and most affordable accessory you will ever buy. As you descend, water absorbs light wavelengths. Red light disappears first (as shallow as 5 meters), followed by orange and yellow. This is why your footage looks like a dull blue-green abyss without correction.
- What it does: A red filter fits over your lens (or built into your housing) and adds a red tint back to the light entering the camera. This helps restore natural colors and contrast in your footage.
- When to use it: Use it in depths between 5 and 20 meters when you have natural ambient sunlight. If you are using powerful artificial lights (strobes), remove the filter, as it will make the footage appear too red.
- Pro Tip: Buy a filter that is specific to your camera model to ensure a perfect fit and no vignetting (dark corners).
2. The Tray and Handles (The Buoyancy Controller)
If you are using a compact or action camera, you might think you can just hold it in your hand. That is a mistake. Underwater, your hands are often occupied with buoyancy control, and a slippery camera grip can lead to dropped gear in deep water.
- What it does: A camera tray is a rigid base that you mount your camera on, usually flanked by two handles. This gives you a stable platform to grip, mimicking the ergonomics of professional rigs.
- The Buoyancy Benefit: Trays are often made of aluminum or plastic and can be fitted with buoyancy arms. By adding float arms, you can achieve “neutral buoyancy” for your camera rig. This means the camera won’t sink like a stone if you let go (preventing damage) and won’t float away from you. It reduces fatigue on long dives and helps you hold the camera steady for tack-sharp shots.
- Shutter Release: Most trays come with a connection to a mechanical shutter trigger or an electronic remote, allowing you to press the shutter without moving your hand away from the handle. This minimizes camera shake.
3. Video Lights vs. Strobes (The Lighting Dilemma)
Filters are great for shallow, sunny dives. But if you are diving deeper, in caves, or in murky water, you need artificial light.
- Strobes (Flash): These are for still photography. They emit a powerful burst of light that freezes the action and brings back vivid colors. They are powerful but expensive and require you to adjust the angle of the light to avoid backscatter (light reflecting off particles in the water).
- Video Lights: These are continuous lights, essential for video. They help your camera focus faster in low light. Look for lights with a high Color Rendering Index (CRI) to ensure colors are true to life. A good start is a light with at least 1000 lumens, though divers who film in dark waters often use 5000+ lumens.
- The Beginner Verdict: If you are mostly doing daytime recreational dives, start with a filter. Add a video light as your skills progress.
4. Spare Batteries (The Cold Water Killer)
Lithium-ion batteries die at an alarming rate in cold water. The colder the water temperature, the slower the chemical reaction inside the battery, resulting in less power output. You will be shocked at how quickly your battery drains from 100% to 20% just from switching the camera on and off to compose shots.
- The Rule: Never go on a dive trip with fewer than three batteries.
- Warm Storage: Keep your spare batteries in a small thermal pouch or a pocket close to your body (inside your wetsuit or drysuit) to keep them warm and preserve their charge between dives.
5. Silica Gel Packs and Microfiber Cloths (The Anti-Fog Duo)
There is nothing worse than entering the water and seeing condensation fog up the inside of your camera housing, ruining every shot you take. This happens when humid air inside the housing meets the cold glass of the lens port.
- Anti-Fog Inserts: These small absorbent packets (often attached to a sticky pad) absorb moisture from the air inside the housing. Place one or two inside the housing before sealing it.
- Microfiber Cloth: You will also need a cloth to wipe away water droplets from the outside of the lens port between dives (on the boat). Droplets on the lens cause blurry spots and lens flares in your images.
6. The Garbage Bag (The Forgotten Hero)
This is a tip used by professional underwater photographers. When you are on a dive boat, saltwater spray is your enemy. A tiny drop of saltwater on your lens can dry into a crystal that scratches the glass.
- The Strategy: Keep a large plastic trash bag in your gear bag. When the boat is moving and you are not shooting, cover your entire camera rig with the bag to protect it from ocean spray. It is cheap, lightweight, and saves your gear from corrosion.
7. Spare O-Rings (The Leak Preventer)
If your camera uses an external housing, the O-ring (the rubber seal) is what keeps water out. O-rings wear out, crack, and collect sand. If one breaks on a dive trip, your camera is dead.
- The Kit: Always carry a spare set of O-rings for your housing and your battery door. You should also carry the silicone grease used to lubricate them. A properly greased O-ring creates a better seal and prevents the ring from flattening out.
8. Lanyards and Tethers (The Safety Net)
Diving can be unpredictable. A strong current, a fin kick, or a sudden movement can send your expensive underwater camera for diving tumbling into the abyss. A simple wrist lanyard that attaches to the tray handle ensures that even if you let go, the camera stays within reach.
Your Perfect Beginner Companion: The SJCAM SJ6 Ultra
Now, you might be looking at this checklist and thinking, “My cheap action camera can’t use strobes, and I’m not buying a heavy tray.” You are right. For beginners using compact action cameras, the accessory list is simpler: a red filter, spare batteries, and a light. But the crucial starting point is choosing the right camera.
If you are looking for an underwater camera for diving that pairs perfectly with these accessories without requiring a massive budget, look no further than the SJCAM SJ6 Ultra.
This action camera is a phenomenal entry point for new divers. Here is why the SJ6 Ultra is the ideal foundation for your accessory kit:
Mounting Versatility (Tray Ready): The SJ6 Ultra features a standard action camera mounting system. This means it attaches flawlessly to the aluminum trays and handles mentioned in this article. You can easily use a lanyard, add a red filter adapter, and mount an external LED video light on a separate arm. It grows with you as your skills advance.
Impressive Imaging Power: It records in crisp 4K resolution at 30fps and captures 16MP still photos. Combined with a red filter, the SJ6 Ultra delivers structurally sound footage that holds up beautifully when you color-correct it in editing software.
Stabilization for the Sea: The SJ6 Ultra features built-in Electronic Image Stabilization (EIS). This is critical for diving. Because you are using a tray or simply holding the camera, your breathing and fin movements will cause shake. The EIS smooths out these micro-movements, ensuring your video of that manta ray is smooth and watchable.
Rugged Waterproof Design: With a waterproof case rated for depths of up to 30 meters, this camera is ready for most recreational scuba adventures right out of the box. It protects your investment from the elements.
Final Thoughts
Buying an underwater camera for diving is the first step; buying the right accessories is what turns “good” footage into “National Geographic” footage. Start with the essentials—a red filter, spare batteries, and a reliable tray—and build your kit over time.
The SJCAM SJ6 Ultra provides the perfect balance of quality, price, and accessory compatibility. It allows beginners to utilize all the items on this checklist without the intimidation of professional cinema rigs. So, gather your gear, seal your camera, and get ready to bring the deep blue back to the surface.