Keeping a pull-out kitchen tap clean isn’t just about looks – it also helps it work smoothly, prevents limescale build-up, and keeps the spray head from clogging. The good news? You can do everything yourself at home with a few simple tools and ingredients you probably already have.
Here’s a step-by-step guide to cleaning your pull-out kitchen tap properly, without damaging the finish or the mechanism.
1. What you’ll need
Gather everything before you start:
Soft microfibre cloths
Mild washing-up liquid
A soft toothbrush or small cleaning brush
White vinegar (or a limescale remover that’s safe for taps)
A small bowl or cup
Elastic band or food bag (optional, for soaking the spray head)
Cotton buds (for little crevices)
Avoid anything abrasive like wire wool, scouring pads, or harsh chemicals – these can scratch the surface and damage the internal components.
2. Start with a simple surface clean
Before you tackle the spray head or hose, give the outside a good clean.
Mix a mild solution
Add a few drops of washing-up liquid to warm water.
Wipe down the tap body
Dip a soft cloth into the soapy water, wring it out, and gently wipe:
The main body
The spout
The handle or lever
The base of the tap around the sink
Use a soft brush for details
Around the base, logo, and joint lines, use a soft toothbrush or cotton bud dipped in the same solution.
Rinse and dry
Wipe again with a cloth dampened in clean water to remove any soap residue.
Dry thoroughly with a microfibre cloth to prevent water spots.
This quick clean alone will already make your tap look brighter and help protect the finish.
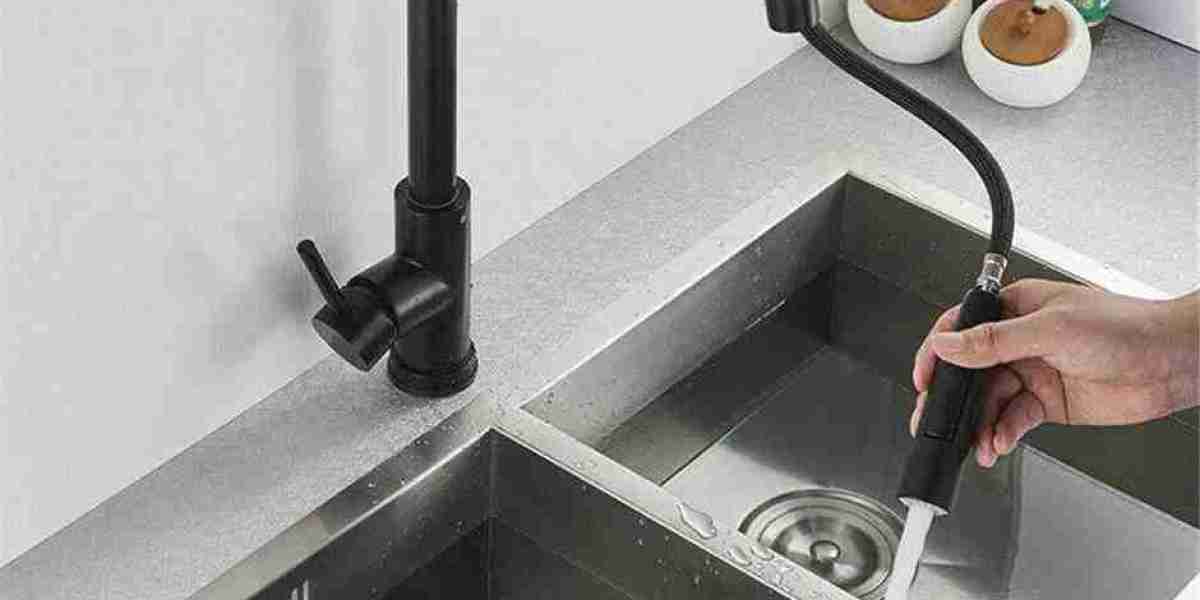
3. Clean the pull-out spray head (aerator and nozzles)
The spray head is where most of the limescale and dirt collects because that’s where the water leaves the tap.
3.1 Remove the spray head (if your model allows)
Many pull-out taps allow the spray head to be unscrewed from the hose:
Turn off the water at the tap (just in case you knock the handle).
Carefully unscrew the spray head from the hose, rotating anticlockwise.
Place a towel or cloth in the sink so nothing gets scratched or lost.
If your spray head doesn’t detach, don’t worry – you can still clean it in place.
3.2 Soak the aerator and nozzles
You’ll usually see small rubber or metal nozzles or a mesh aerator where the water comes out.
Prepare a cleaning solution
Mix equal parts white vinegar and warm water in a small bowl.
If the head is removable
Place the spray head in the bowl so the nozzles/aerator are completely submerged.
Leave it to soak for 20–30 minutes to dissolve limescale.
If the head isn’t removable
Fill a small food bag with the same vinegar solution.
Secure it over the spray head with an elastic band so only the end is soaking.
Again, leave for 20–30 minutes.
Tip: Always check your tap’s care instructions. On some special finishes, use a weaker solution (more water, less vinegar) and a shorter soak.
3.3 Scrub gently
Remove the spray head from the solution.
Use a soft toothbrush to gently scrub the nozzles and aerator, loosening any remaining deposits.
Rinse thoroughly under running water until it flows freely and there’s no vinegar smell.
If your aerator is a removable insert, you can take it out carefully, clean both sides, then pop it back in.
4. Clean the pull-out hose
The hose doesn’t usually need deep cleaning, but keeping it free from grime helps it glide in and out smoothly.
Extend the hose fully over the sink.
Wipe it down with your mild soapy cloth, paying attention to:
The joints where it meets the head and tap
Any visible marks or grease spots
Rinse with a damp cloth and dry well.
Make sure the hose retracts smoothly back into the tap without twisting.
Avoid tugging too hard on the hose – gentle movement will help it last longer.
5. Tackle stubborn limescale around the base
Limescale often collects at the base of the tap where it meets the sink, especially in hard water areas.
Apply a small amount of vinegar solution
Soak a piece of kitchen roll or a cotton pad in your vinegar–water mix.
Wrap it around the base of the tap where the deposits are.
Leave for 10–15 minutes
Don’t leave it too long, especially on coloured or special finishes.
Remove and scrub gently
Use a soft brush or cloth to wipe away loosened limescale.
Rinse and dry thoroughly
If anything remains, repeat once more rather than scrubbing harshly – patience is safer than force.
6. Polish the finish (without damaging it)
Once your tap is clean and limescale-free:
Wipe down the entire tap with a damp, clean cloth.
Dry with a microfibre cloth using small circular movements.
For chrome and some other finishes, this is normally enough to restore shine. Avoid polishes that contain abrasive particles unless the manufacturer specifically recommends them for your tap.
7. Simple habits to keep your pull-out tap cleaner for longer
A little daily care goes a long way:
Wipe after use:
Quickly drying the tap and spray head after washing up helps prevent water spots and limescale.Deal with splashes straight away:
Don’t let food, oil, or detergent dry on the tap – they’re harder to remove later and can dull the finish.Monthly mini-clean:
Give the spray head and aerator a quick wipe or brief soak once a month if you live in a hard water area.Gentle products only:
Skip bleach, scouring creams, and harsh chemicals – they can damage seals, hose materials, and finishes.
8. When something still doesn’t feel right
If, after cleaning, you notice:
Uneven spray pattern that won’t clear
Very low flow despite a clean aerator
Stiff movement of the hose or handle
…you might have a deeper issue such as a partially blocked cartridge, very heavy limescale in the pipes, or a worn-out part. In that case:
Check your tap’s instructions or manufacturer’s website
Consider replacing the cartridge or spray head if it’s a known wear part
If you’re unsure, a quick visit from a plumber can save a lot of frustration
Final word
Cleaning a pull-out kitchen tap at home doesn’t need specialist tools or harsh chemicals – just warm soapy water, a bit of white vinegar, and some gentle attention to the spray head, hose, and base. With regular light cleaning and the occasional deeper soak, your tap will stay smooth to use, free from limescale, and looking fresh for years.