Uncover the Secrets to Perfect Water: Your Guide to Reverse Osmosis Installation!
Clean water is essential for a healthy life, and the quest for pure drinking water has led many homeowners to consider reverse osmosis systems. These systems are designed to filter out impurities, providing you with crisp, clean water straight from your tap. At the heart of reverse osmosis technology lies a simple yet effective process that removes contaminants, making water safer and tastier. Whether you're concerned about harmful chemicals, unpleasant tastes, or just want to enjoy fresh drinking water, understanding reverse osmosis can help you make an informed choice for your household.
Understanding Reverse Osmosis Systems
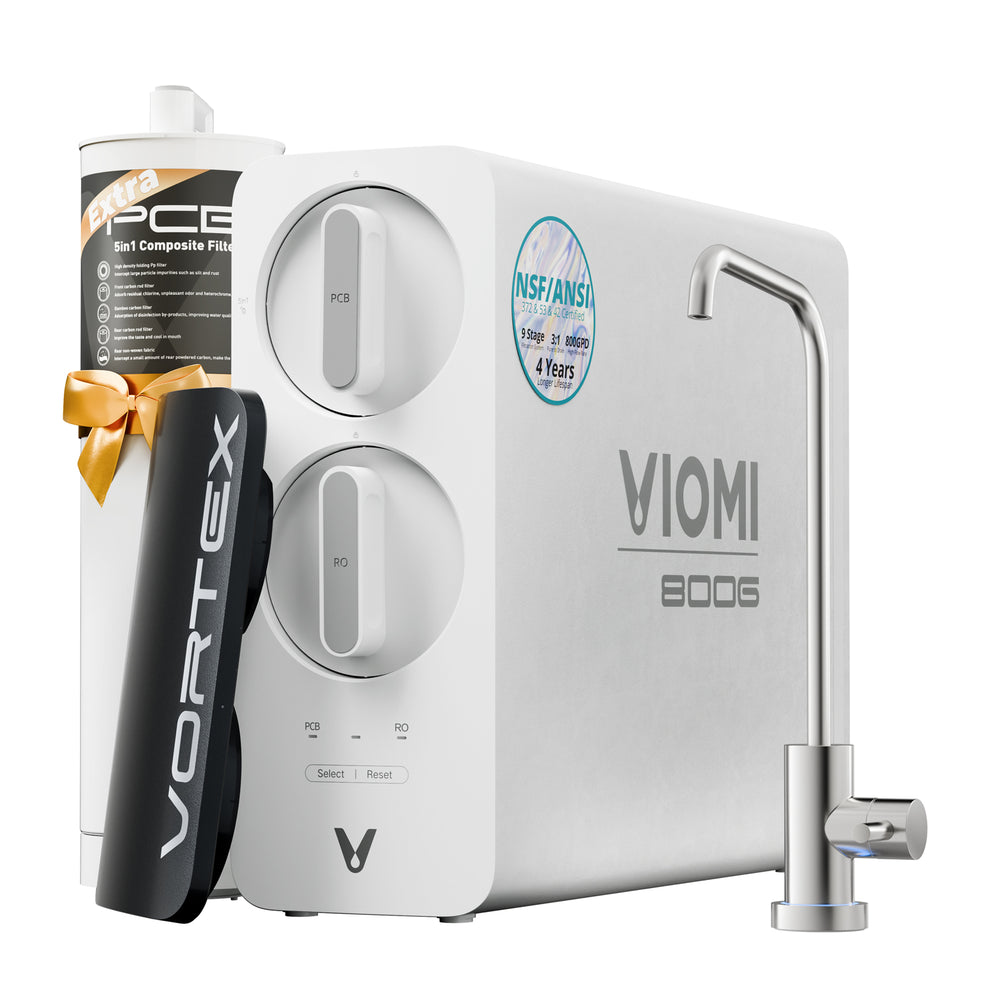
Reverse osmosis (RO) technology operates on a fundamental principle: it uses a semi-permeable membrane to separate contaminants from water. When water is forced through this membrane, impurities are left behind, resulting in purified water. The main components of a reverse osmosis system typically include the pre-filter, the RO membrane, and the post-filter. There are various types of reverse osmosis systems, from under-sink models to whole-house systems, each tailored to meet different needs. For instance, a friend of mine opted for a compact under-sink model due to limited kitchen space, while another chose a whole-house system to ensure that every tap in the house provided clean water. Understanding these differences can help you choose the right system for your needs.
Benefits of Installing a Reverse Osmosis System
The advantages of reverse osmosis systems extend beyond just cleaner water. First and foremost, they significantly improve the taste of drinking water by removing chlorine, sediment, and other unpleasant flavors. Additionally, RO systems effectively eliminate contaminants such as lead, nitrates, and other harmful substances, which can be crucial for health-conscious families. One of my friends, who has young children, was particularly relieved to find that their RO system removed harmful substances, giving them peace of mind. The long-term savings on bottled water and the eco-friendly aspect of reducing plastic waste are also compelling reasons to consider installation. Overall, the benefits of improved taste, health safety, and environmental impact make reverse osmosis a smart choice.
Choosing the Right Reverse Osmosis System for Your Needs
When selecting a reverse osmosis system, several factors come into play. The first consideration is water quality; testing your water can help identify specific contaminants that need to be addressed. Next, household size plays a vital role; larger families may require systems with higher output rates. Budget is another critical factor, as prices can vary widely based on system features and capacity. A friend of mine faced a dilemma when choosing their system; they wanted a high-capacity model but were initially deterred by the price. After researching and weighing their options, they found a reliable system that fit their budget without compromising quality. Taking the time to assess these aspects can lead to a more informed purchase decision.
Steps for Reverse Osmosis Installation
Installing a reverse osmosis system can be a straightforward process, especially for those who enjoy DIY projects. The first step involves gathering the necessary tools, including a wrench, drill, and tubing cutter. Make sure to read the manufacturer's instructions carefully before starting. You’ll typically need to find a suitable location under your sink, install the pre-filter, and connect the RO membrane and post-filter. While some homeowners may feel confident taking on the installation themselves, others may prefer hiring a professional to ensure everything is set up correctly. My neighbor, a DIY enthusiast, tackled the installation himself and was pleased with the results, but he admitted it took him longer than expected. Weighing the pros and cons of DIY versus professional installation can help you decide which route to take.
Maintenance Tips for Your Reverse Osmosis System
Regular maintenance is essential to ensure your reverse osmosis system continues to perform optimally over time. This includes routine checks for leaks, monitoring water flow, and replacing filters as needed. Performing these maintenance tasks every six months can help prolong the life of your system and ensure you enjoy purified water for years to come. If you notice a decrease in performance or any issues with your system, it's wise to address them early to avoid more significant problems down the line.
Final Thoughts on Reverse Osmosis
Installing a reverse osmosis system is a proactive step towards ensuring your household has access to clean, safe drinking water. With numerous benefits, including improved taste, health safety, and environmental friendliness, it's a decision worth considering. By understanding the technology, choosing the right system, and keeping it well-maintained, you can enjoy the advantages of purified water for years to come. Ultimately, making an informed choice about reverse osmosis installation will contribute significantly to the health and well-being of you and your family.